 by Brittiny
Real Bride & Wedding Designer
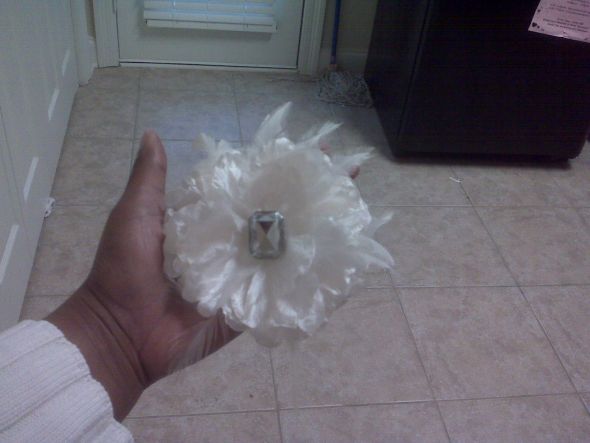
I cannot help myself. I have to share my low-cost, DIY hair fascinator. If you have a Claire's, you're in luck!! A few weekends ago I scored this great fascinator for $2.75.
Here she is in all of her splendor.
Here she is after I did my thing: 
Here's what I used to make it:
*
A flower or fascinator of your choosing ($2.75)
*
An old bracelet, some crystal beadings, loose crystals, or a brooch ($9.00)
*
a great pair of scissors (I had these already so free for me)
*
glue dots or Zots (I had these already but prices range from $4.00-$8.00)
First, I removed the center pollen, stigma, plastic stuff from the center. I must admit she was pretty cute with it, but I wanted some bling.
I used my handy zot (see picture above) to place the stone of your choice in the center (stone/bling, whatever you want to use). You can also use a glue dot or glue gun to attach your baby, if you are feeling really adventurous you can use a hair pin and bend it at the prongs when it goes in. I am lazy and decided to see what a glue zot could do. And below is the result. Total cost $11.75.

Now, this is way different from the original one that I liked but being $118.00 cheaper, I definitely think it was a steal versus splurge moment. Here is the original piece:
Road to the Altar: So Fascinating!
Subscribe to:
Post Comments (Atom)


4 comments:
@Claudia: Thanks so much!! I have no idea about the blog advertising, marketing and that type of thing. How doe sthat type of thing work? I will definitely check out that site.
***beauty, love, frugality mochafrugalista.blogspot.com
It is beautiful! You are very creative and talented
You have a very nice blog.
@jamerican: thanks!! i have a lot of fun with what I do as long as it doesn't cost a lot and looks like it does lol!!! and thank you so much for the comments about my blog!!
***beauty, love, frugality.... mochafrugalista.blogspot.com
Post a Comment